Preview and troubleshoot dependency resolution
Use the Resolver to preview the package versions and dependencies that Update Service selects. The preview doesn't change a client.
Before you begin
- Sign in to the Server Management interface. See Access and permissions.
- Import the packages and their dependencies. See Import packages.
- To open an install on a machine, install the Update Service client on that machine.
Preview dependencies
Open Resolver. Previous package selections are restored in the browser.
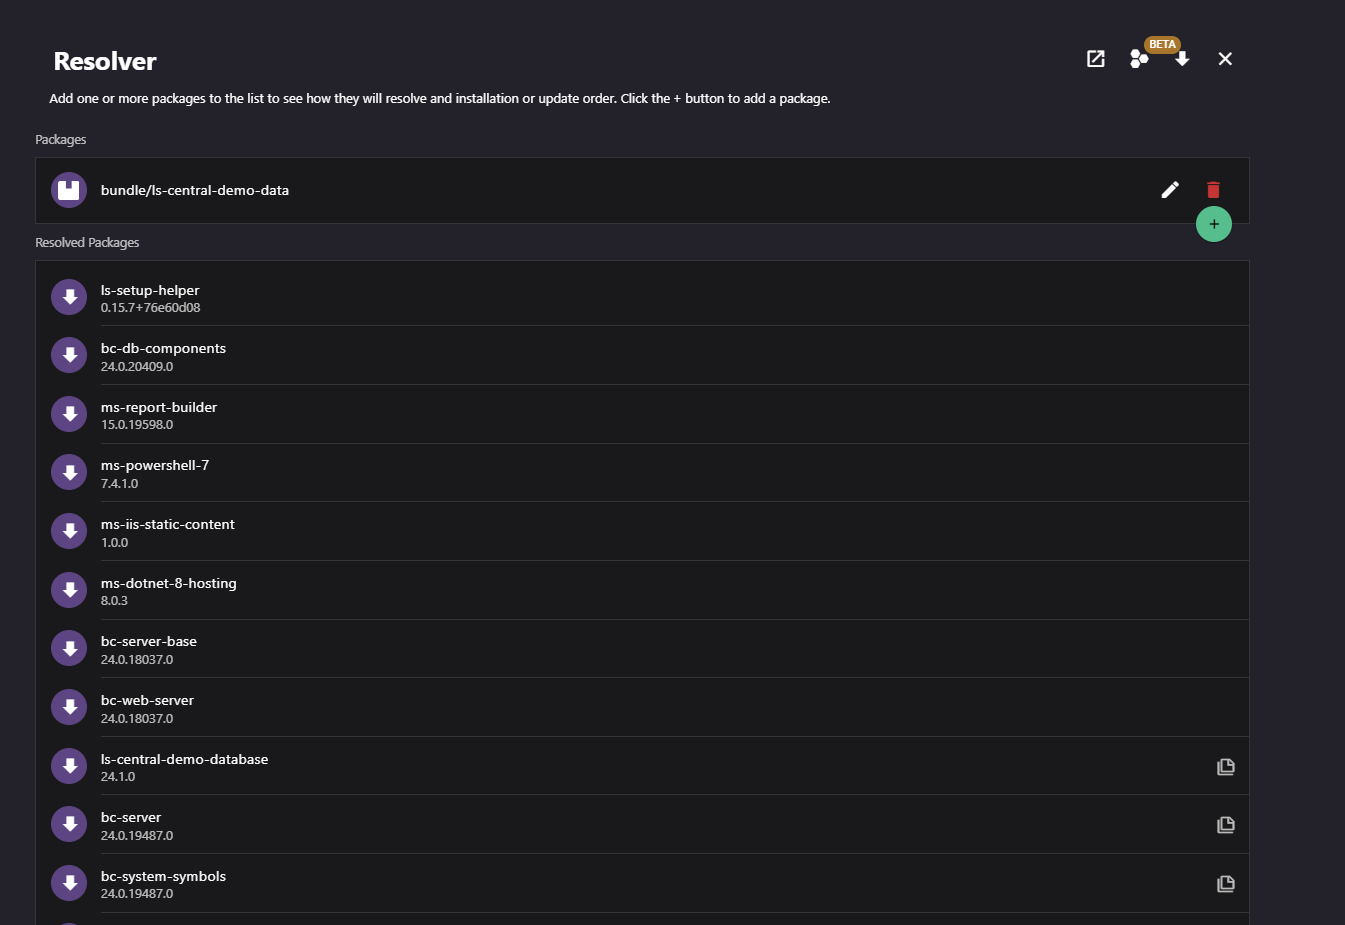
Add one or more packages and, if needed, enter a Version Query. The Resolved packages list updates to show the selected versions and their dependencies.
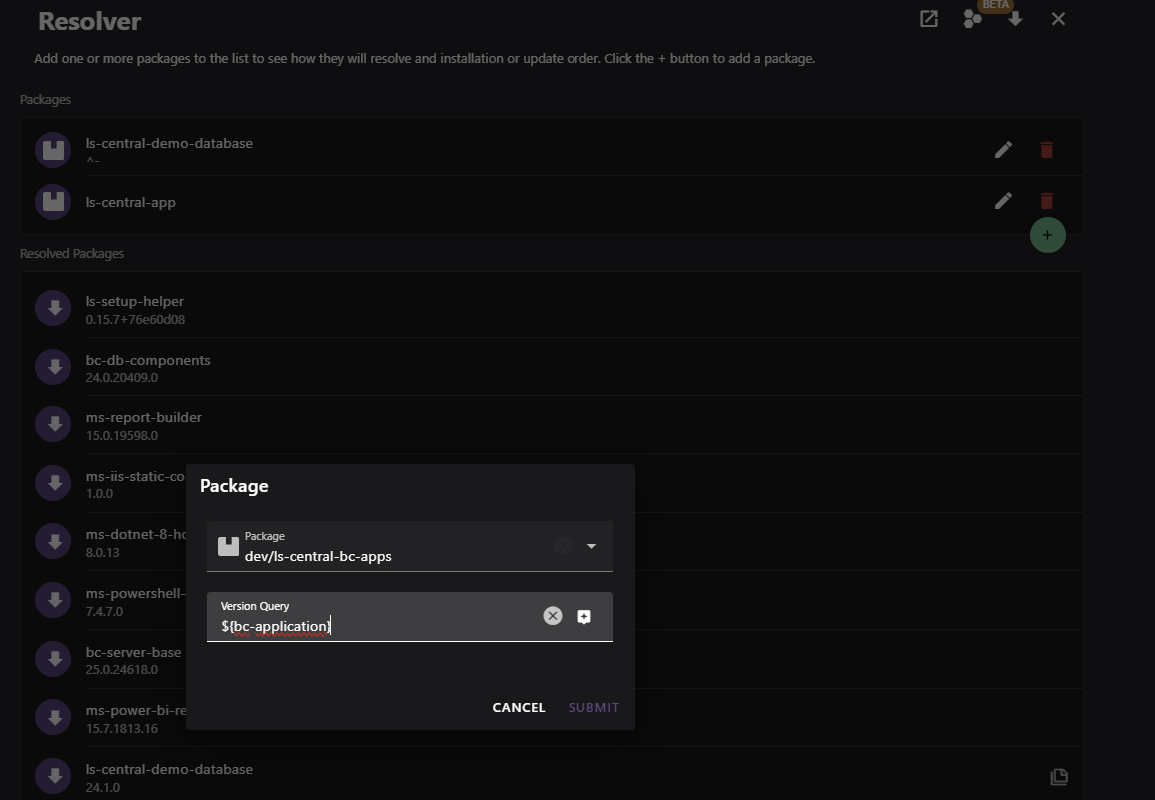
Review the resolved packages. Open a package to inspect its Files, Dependencies, and Parameters on Package Version.
If a query can't be resolved, the page displays an error. Change the query or import the required package version, then review the result again.
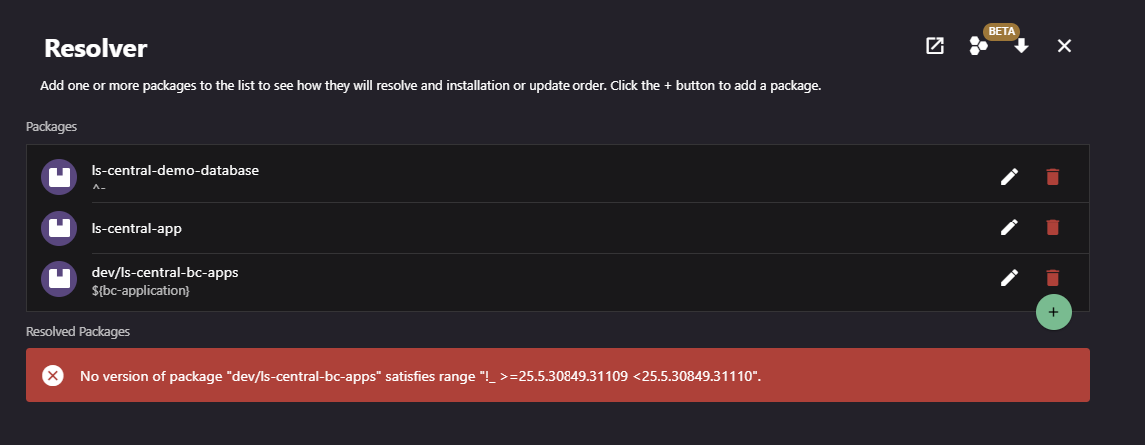
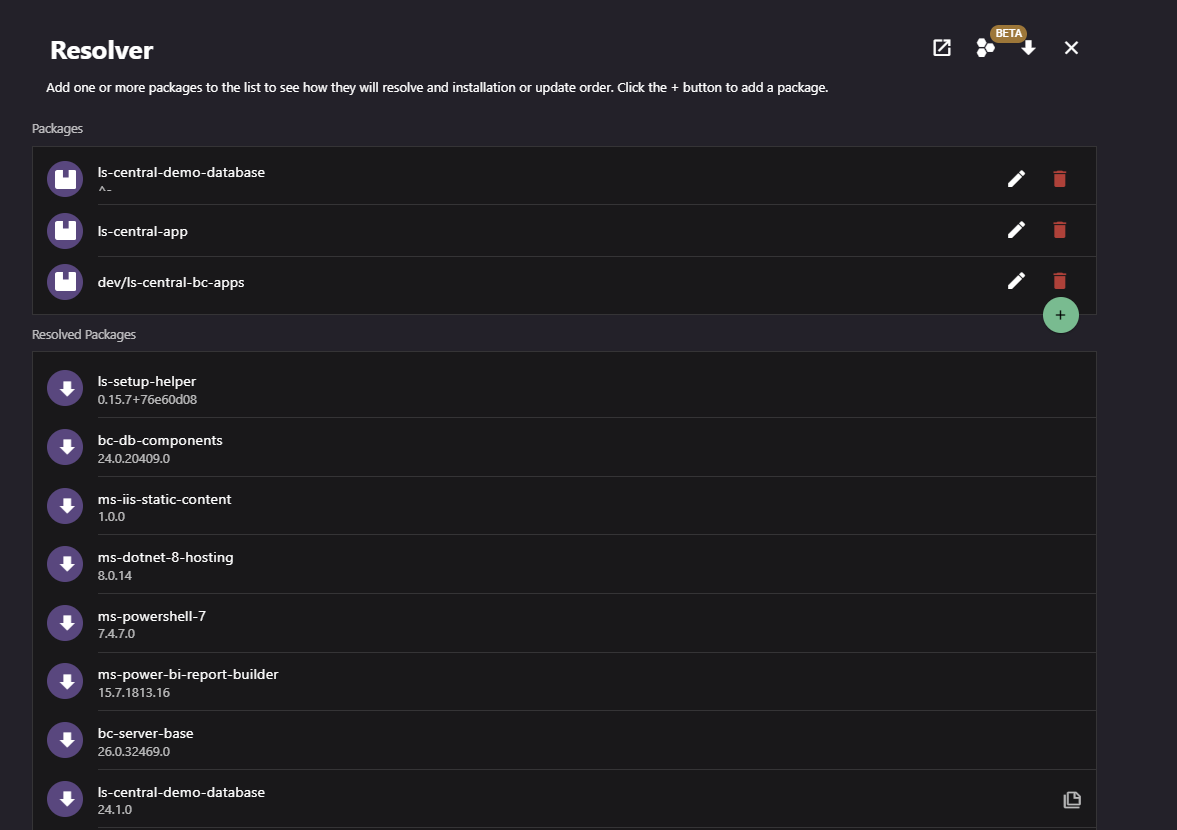
A successful preview confirms that the selected packages and dependencies can be resolved. It doesn't guarantee that installation on a client will succeed.
Compare an upgrade
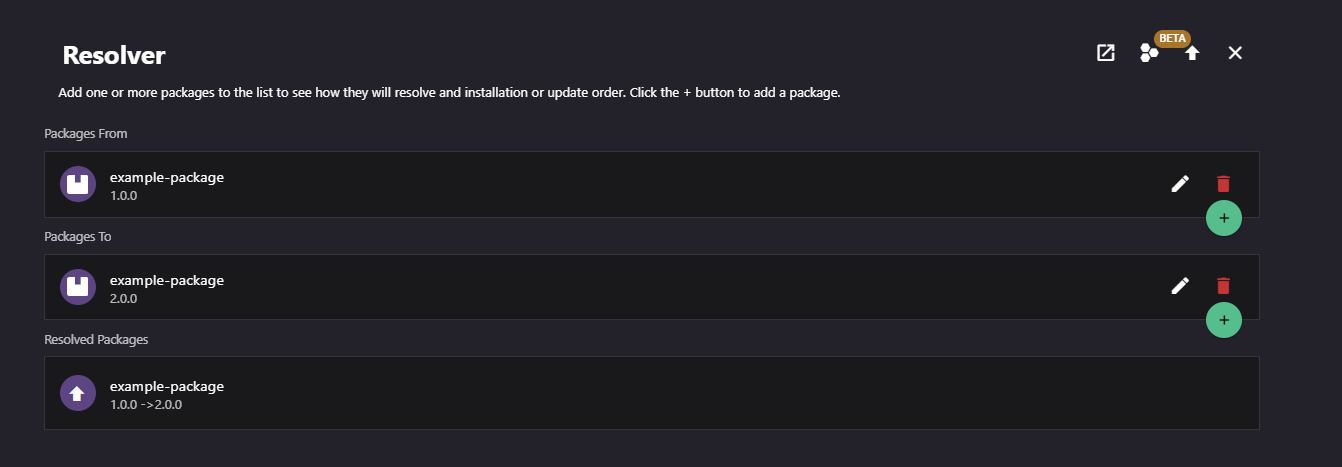
Select Toggle Upgrade Mode, then add the packages that are currently installed to Packages From. The resolved list compares the previous and selected versions and identifies removed packages.
Create an installation script
Select Advanced Resolver (BETA) to open the Advanced Resolver with the current package selection. Add package arguments, an instance name, or change the package list.
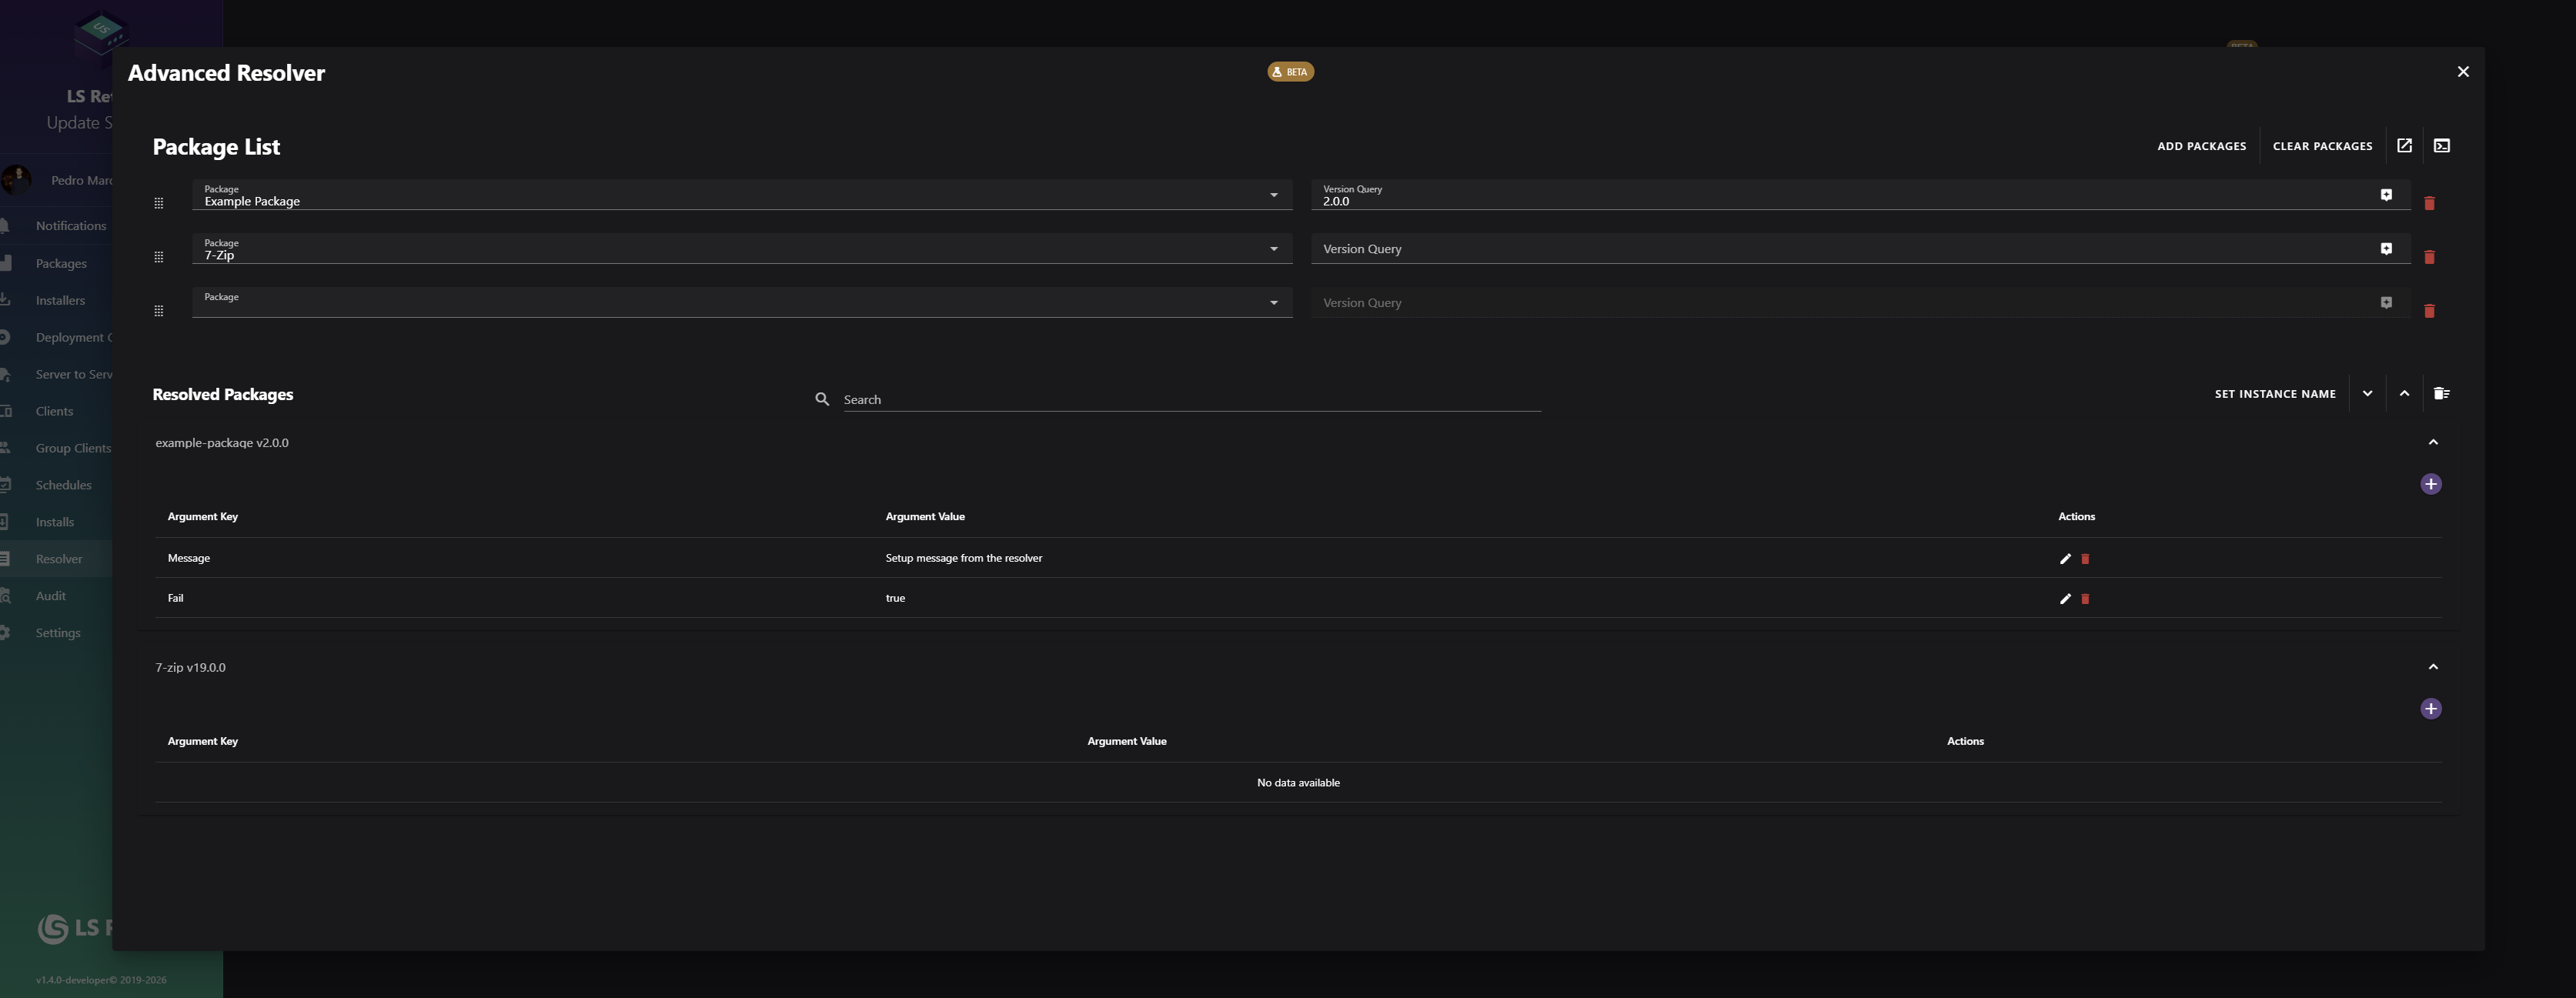
Use Open Wizard or Open in client to open the selection through the Update Service client. Use Powershell Export to generate an
Install-UscPackagescript. You can include the client bootstrap code, save the script as a.ps1file, and run it unattended.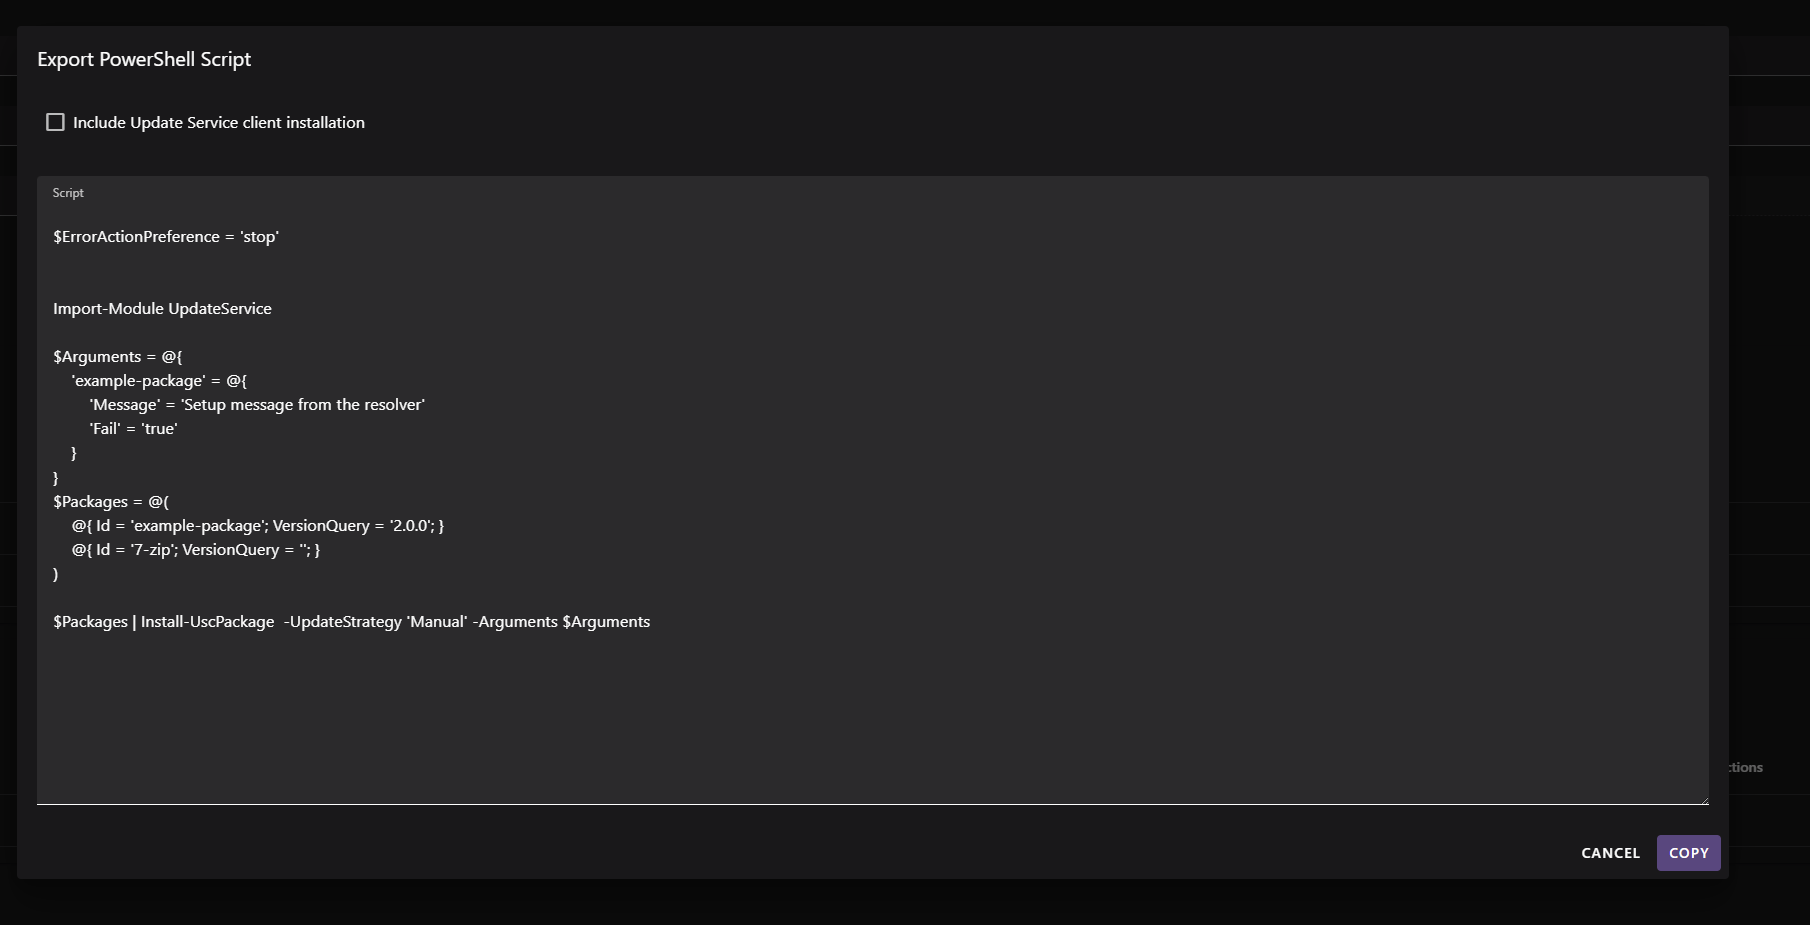
Resolution tips
- Use version queries to test a specific version or an allowed version range.
- Review all resolved dependencies, not only the packages you added.
- Use upgrade mode when you need to understand version changes before running an update.