Organize clients into groups
Create groups to target clients together in deployment circles and apply a common schedule.
Before you begin
- Sign in with permission to manage groups. See Access and permissions.
- Ensure that the clients appear on the Clients page.
- Create the schedule first if the group needs a maintenance window. See Control update timing with schedules.
Create a group
Open Group Clients, and search for an existing group before creating a new one.

Select Add. In Create or edit a group, enter a name and description. You can assign a Schedule now or later.
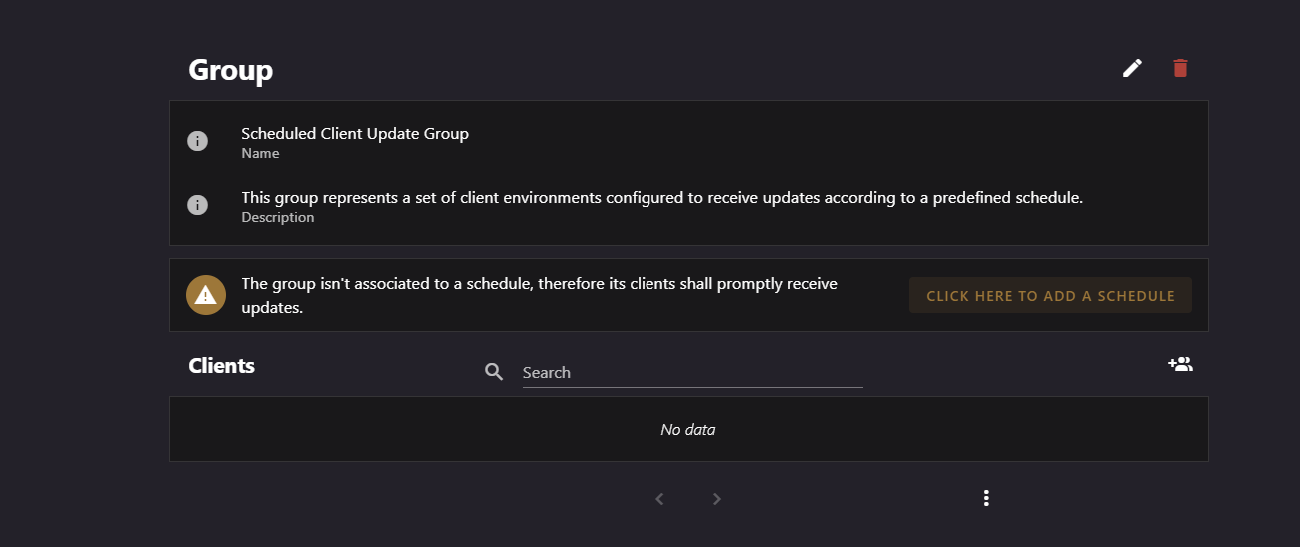
Open the group's Group Detail page. In Clients in this group, select Add clients to this group. In Select Clients, filter the list, select clients, and submit.
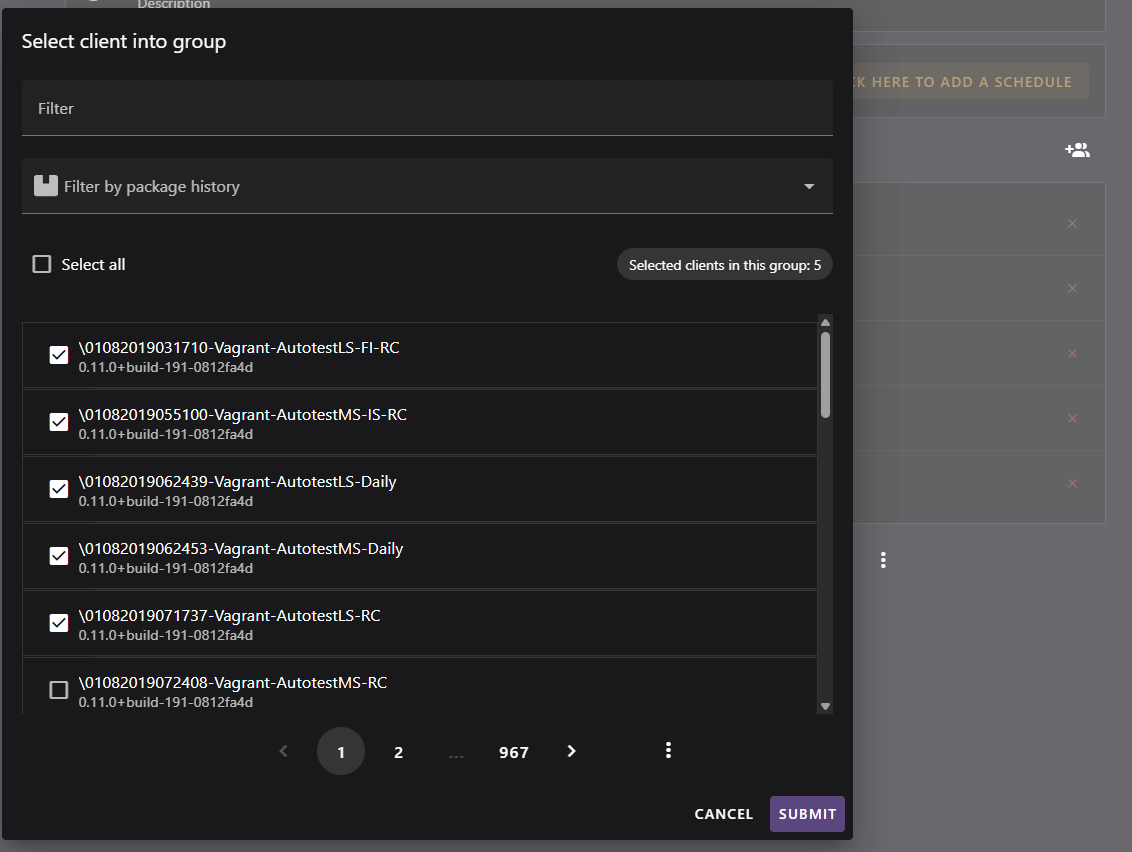
Review the schedule section on Group Detail. Use Create new schedule or Add existing schedule if the group needs scheduled updates.
- No schedule means updates aren't limited to a schedule window.
- No active days means the assigned schedule has no active weekdays. Enable at least one day before relying on the schedule.
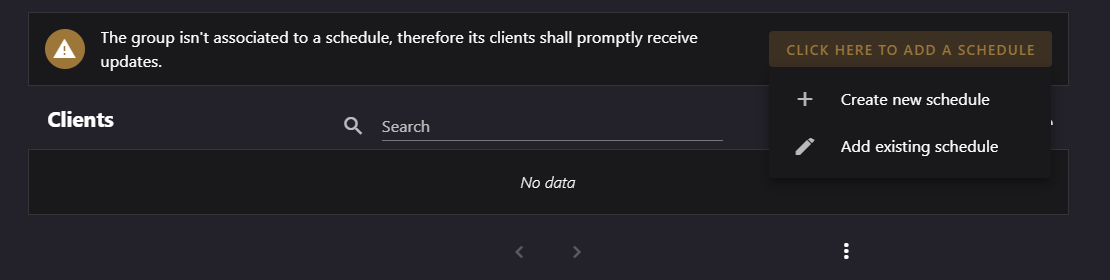
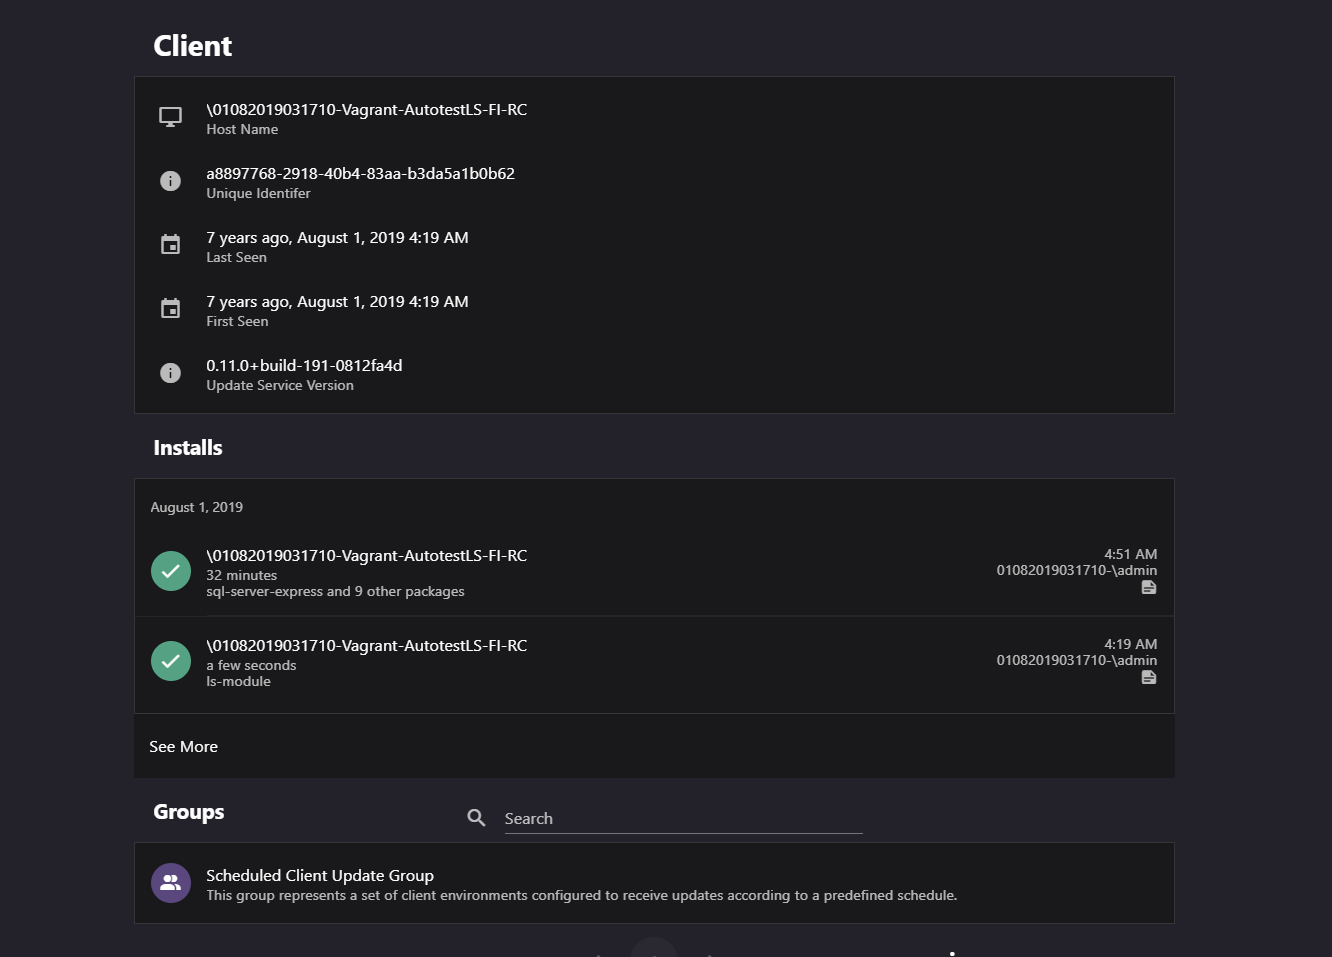
Confirm the membership list. Open a client to review its group and circle memberships on Client Detail.
Manage group membership
- A client must register with the server before it can be added to a group.
- Removing a client from a group doesn't delete its client record or history.
- Deleting a group shows deployment-circle references in the confirmation dialog.
- Removing a schedule from a group doesn't delete the schedule.