Control update timing with schedules
Create schedules to define the recurring windows when group members can receive updates.
A schedule applies through a group in a deployment circle: the circle selects the package version, and the group's schedule limits when the update is available.
Before you begin
- Sign in with permission to manage schedules, groups, and deployment circles. See Access and permissions.
- Identify the required days and start and end times.
- Create or identify the target group. See Organize clients into groups.
- Create a deployment circle for the package, or be ready to create one. See Staged rollout with deployment circles.
Create and apply a schedule
Open Schedules, and search for an existing schedule before creating a new one.
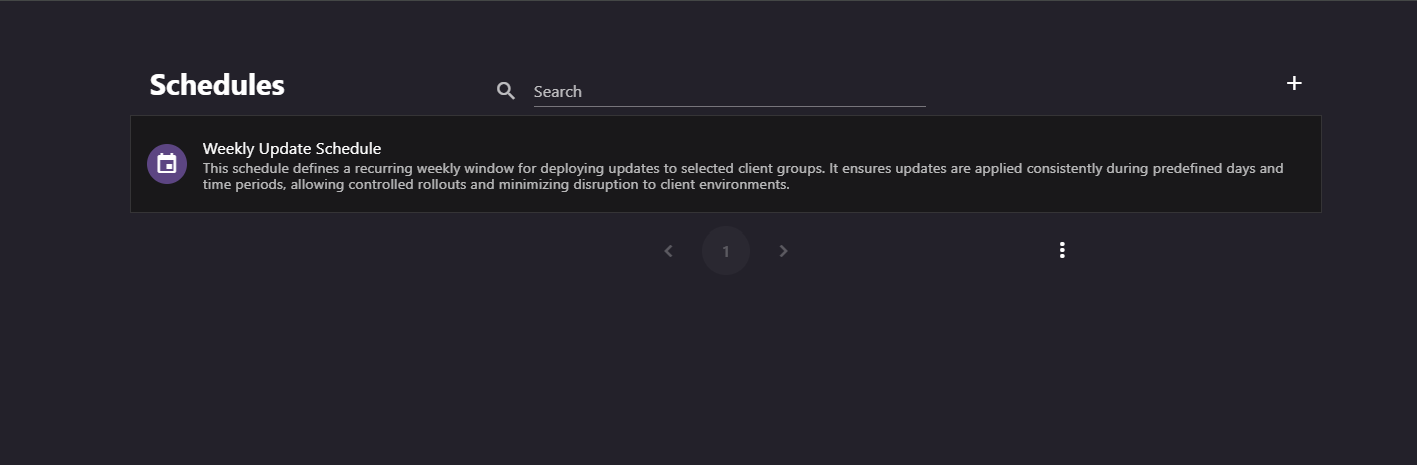
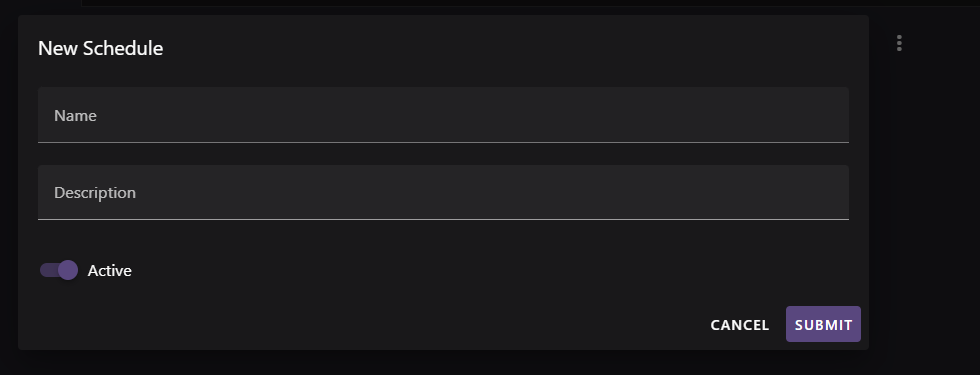
Select Add. In Create or edit a schedule, enter a name and description, keep Active selected, and submit.
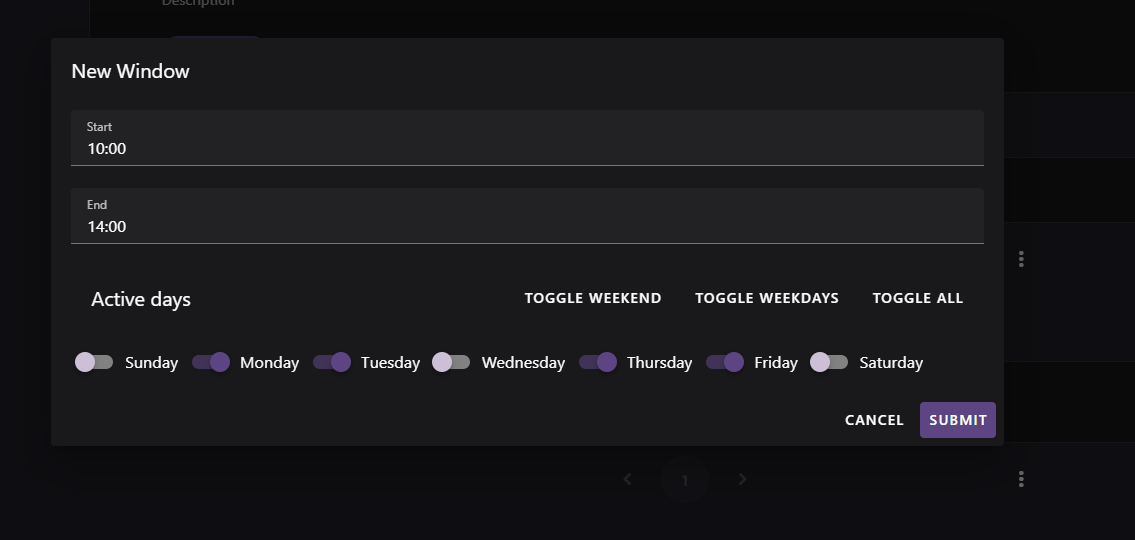
Open Schedule Detail. In Schedule windows, select Add. In Create or edit a window, set Start, End, and at least one active weekday, then submit. Add more windows as required.
If End is earlier than Start, the window continues until the end time on the following day. Start and End can't be equal.
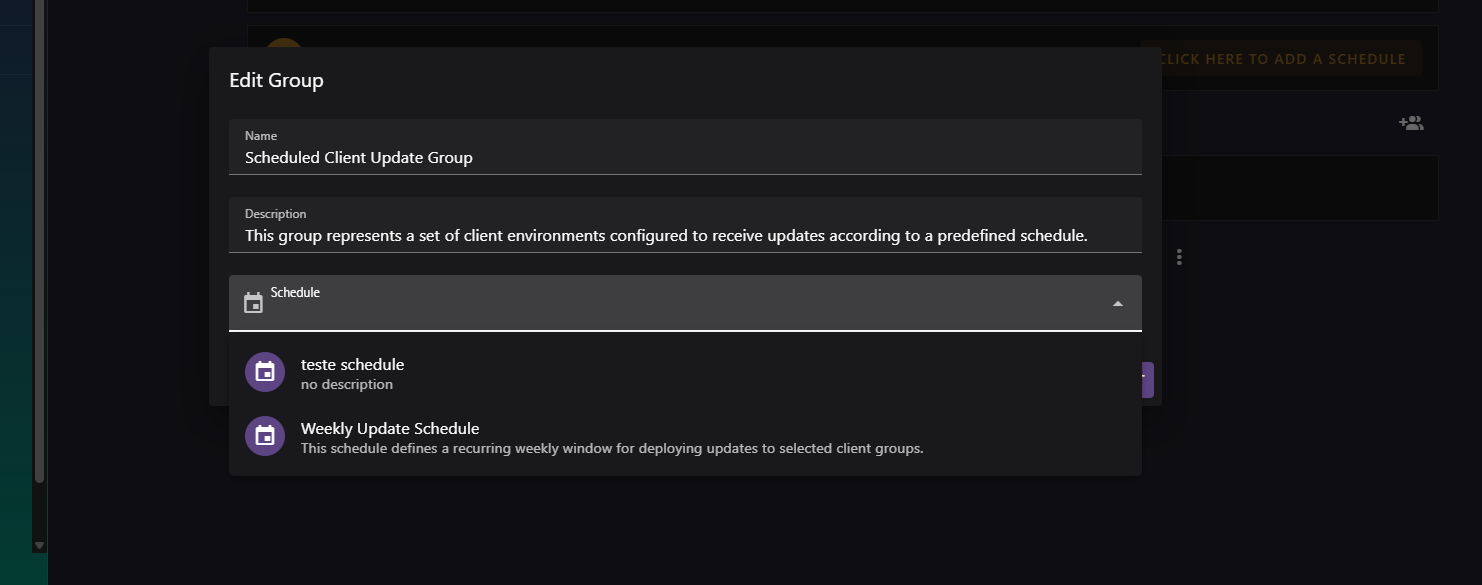
Open the target Group Detail page and assign the schedule through the group's Edit dialog or Add existing schedule. The Groups section on Schedule Detail lists associated groups.
Open Deployment Circle Detail for the package. Select the circle that targets the required version and add the scheduled group in Manage circle groups.
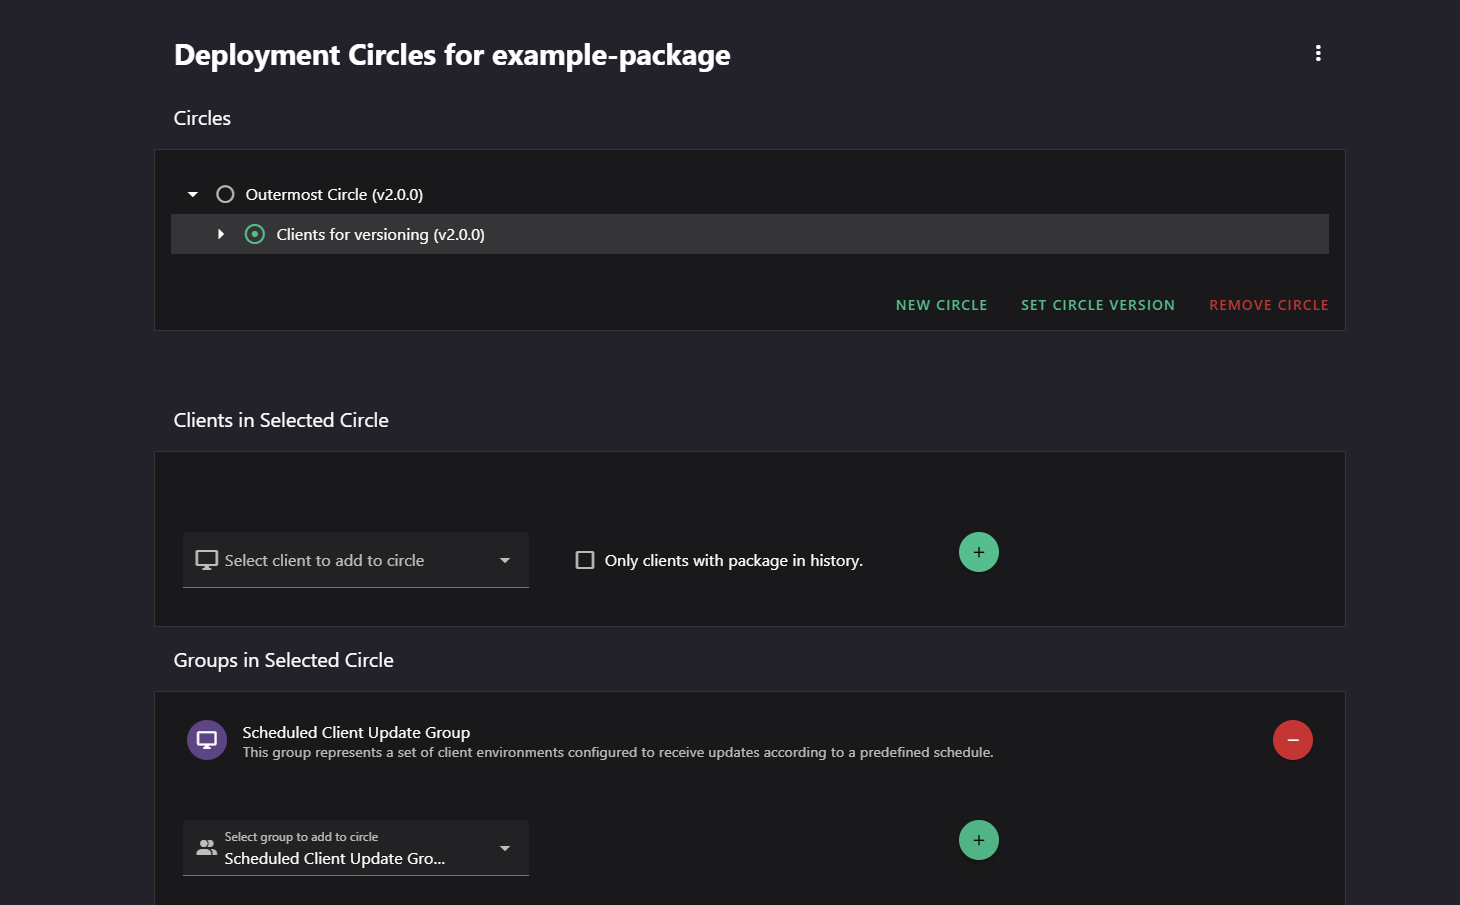
Confirm that the schedule is active, has active days, and is assigned to the intended group and circle. Monitor results in Installs.
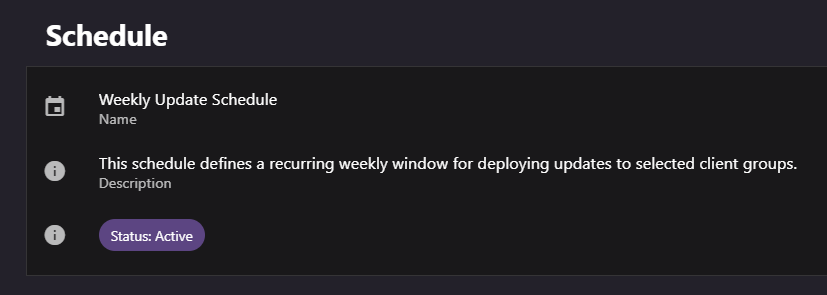
Schedule behavior
- An inactive schedule doesn't limit updates for its associated groups.
- A schedule with no active days prevents the associated group from updating during a scheduled window.
- A group without a schedule isn't limited by a schedule window.
- You can assign one schedule to multiple groups. Those groups can participate in deployment circles for different packages.